A modular kitchen should be fabricated from verified site conditions, actual appliance dimensions and a tested workflow—not from a catalogue layout or mood board. By the end, you will know what to bring to a consultation, which measurements and clearances to approve, and how to compare materials, costs and execution responsibilities before production begins.
Key takeaways
- Request a measured plan showing walls, windows, doors, utilities and ceiling height.
- Keep at least 900 millimetres between opposing kitchen counters.
- Approve appliance sizes, electrical points, plumbing and exhaust routes together.
- Compare board grades, hardware, storage fittings, scope, exclusions and payment stages.
What should an interior design consultation produce before kitchen design begins?
A useful interior design consultation produces a measured kitchen plan, not merely a mood board.
Bring the apartment floor plan and handover drawings, then add verified wall-to-wall dimensions, ceiling height, window and door positions, beam and column locations, plumbing and electrical points, gas-cylinder or piped-gas details, sink location, appliance dimensions, family cooking habits and target budget.
1. Record the existing site. Measure every wall, opening and service point, including refrigerator clearance, and mark where doors and windows swing. A few millimetres of error at a corner can make factory-made cabinets or a countertop fail to fit.
2. Map the proposed services. Mark the sink, hob, dishwasher, chimney and appliance positions, then draw the chimney duct route with its diameter, bends and external termination. Confirm whether the society or developer permits wall chasing, exhaust outlets, gas routing, drilling into slabs or beams, and plumbing-shaft changes.
3. Recheck after civil work. Once wall corrections, plumbing and electrical rough-ins, ducting, tiling preparation, painting and wet-work curing are complete, remeasure the finished site. Check corner squareness, floor and ceiling levels, and every opening before approving factory fabrication.
4. Freeze the production record. Confirm final appliance model numbers, countertop and shutter samples under home lighting, the written scope, interface responsibilities and drawing sign-off. Fabrication before this stage can create unusable fillers, misaligned doors and unfixable countertop joints.
Which kitchen layout and clearances fit your room and cooking workflow?
Choose the layout that preserves a clear working aisle, places appliances in sequence, and keeps everyday traffic away from the hob. Use 1,000–1,200 mm as a starting aisle for one cook; allow more space when two people must pass or work side by side.
| Layout | Room and workflow fit | Main checks |
|---|---|---|
| L-shaped | Suits a corner kitchen and separates cooking from circulation | Keep the refrigerator, preparation surface and hob on a logical run; avoid trapping a cook at the corner |
| U-shaped | Provides substantial storage for a wider room | Measure the opposing runs carefully so doors, drawers and two cooks do not conflict |
| Parallel | Works in a narrow, elongated room | Increase the aisle beyond the one-cook range if people pass through; keep the main route outside the cooking zone |
| Island | Fits a wide room with room around all sides | Test island clearance, seating, appliance doors and whether the island becomes a traffic obstruction |
Map the full movement sequence: refrigerator to preparation area, preparation area to hob, hob to sink, then sink to dishwasher or waste point. The work triangle alone misses unloading, chopping and waste movement. For practical kitchen design advice in pune, test actual appliance footprints and door swings on the measured plan.
Set the countertop near 860–920 mm, then adjust it for user height, wheelchair access and the tasks you perform most. Check that overhead cabinets are reachable without climbing, and follow the hob manufacturer’s required clearance to cabinets or chimney. Never place the main entrance route across the cooking zone.
How should appliances, plumbing, ventilation and electrical points be planned?
Fix the exact appliance model numbers before modular carcasses are fabricated. A nominal 600 mm opening may not allow the appliance’s door swing, ventilation, plug, hoses or service clearance.
1. Record the refrigerator’s door-swing direction, hinge side and manufacturer’s side, top and rear gaps. Confirm dishwasher width, built-in oven and microwave stack height, water-purifier filter access and washing-machine position. Leave removable panels or spare capacity for future upgrades.
2. Mark sink, dishwasher and washing-machine water and waste points on the service drawing. Check that isolation valves remain reachable, drains have continuous fall, and concealed flexible hoses are not trapped behind fixed cabinets. Keep the sink trap, purifier connections and appliance hoses serviceable without dismantling drawers.
3. Design the chimney around the duct, not its advertised airflow. Confirm duct diameter, total length, number of bends, shaft route, external termination and backdraft protection; an undersized or sharply bent duct can make a high-rated chimney perform poorly.
4. Ask for an electrical load schedule naming dedicated circuits or suitable capacity for the refrigerator, dishwasher, oven, microwave, chimney and washing machine. Position countertop sockets for small appliances, and place appliance isolators where you can reach them without moving the appliance. Never hide an outlet directly behind a fixed appliance.
Use the same checks during a modular kitchen consultation in Pune, and ask for kitchen design advice in Pune that shows every service point on the final elevation and electrical drawing. A clean façade is not a successful plan if a technician must cut cabinets to reach a valve or socket.
What materials, storage details and project costs should you compare?
| Material | Compare | Inspect before approval |
|---|---|---|
| Laminate shutters | Tough, economical and easy to replace | Edge-banding, heat and stain resistance |
| Acrylic shutters | Glossy and reflective, but fingerprints show | Coating, scratch resistance and edge finish |
| Membrane shutters | Seamless routed profiles | Adhesive quality and heat exposure near the hob |
| Veneer shutters | Natural grain requiring protective coating | Veneer seal and colour consistency |
| Glass shutters | Easy to wipe and visually light | Glass thickness, frame and hardware |
| BWR or BWP plywood carcass | Better choice for sink, dishwasher and plinth exposure | Grade marking, sealed edges and sealant |
| MDF carcass | Smooth and stable in dry zones | Coated faces and completely sealed cut edges |
| Particle board carcass | Lower-cost for dry, lightly loaded areas | Moisture protection; exposed edges swell quickly |
An interior design consultation must identify the substrate, edge-banding method, hardware coating and load rating, not just the finish name. Check standing-water risk beside the sink and dishwasher, heat near the hob, stain resistance, and whether the plinth is sealed, protected and removable for cleaning or replacement.
Assign storage by use. Put heavy, frequently used cookware in waist-to-knee drawers or pull-outs; reserve overhead cabinets for rarely used items. Demonstrate the reach and usable capacity of blind-corner units, deep overhead cabinets and lift-up shutters before approving them, and use filler panels only where door swings and access require them.
- Cabinets—modular installer; countertop—stone supplier; sink and faucet—plumber or supplier.
- Chimney, duct and appliances—respective vendors; backsplash and lighting—interior contractor.
- Electrical, plumbing, gas work and civil repairs—named licensed trades.
- Add a written variation allowance and interface schedule; otherwise an unlevel floor, missing cut-out or absent connection becomes your cost.
What must you approve before modular kitchen installation starts?
Approve permissions, finished-site measurements, samples, drawings and responsibilities before any cabinet enters your home. A preliminary plan is not enough: millimetre errors can create unusable fillers, misaligned shutters and countertop joints that cannot be corrected on site.
1. Confirm society or developer rules in writing. Check permission for wall chasing, external exhaust outlets, gas-pipe routing, drilling into slabs or beams, and plumbing-shaft changes. Record who approves each item and retain the email, form or NOC.
2. Finish wet and dusty work before the second measurement: wall and floor corrections, plumbing and electrical rough-ins, exhaust ducting, tiling or backsplash preparation, painting and curing. Early cabinet installation risks damage, inaccurate scribing and rework.
3. Complete the pre-production tolerance stage. Require a second site measurement after civil work, final appliance model numbers, countertop and shutter samples viewed under your home’s lighting, and signed drawings showing dimensions, openings, services and appliance cut-outs.
4. Attach a written scope and interface schedule to the approval. Name the supplier and installer for the countertop, sink, faucet, chimney, duct, appliances, backsplash, electrical work, plumbing, gas work and civil repairs. This prevents variation bills caused by assumed connections or cut-outs.
5. Test maintenance access before signing off. You must reach the sink trap, purifier, chimney motor, appliances, isolation valves and plumbing without dismantling multiple cabinets.
For a modular kitchen consultation in Pune, evaluate Renewed Interior by asking whether its consultation and turnkey execution process records these measurements, interfaces, approvals and handover responsibilities in writing.
Related products
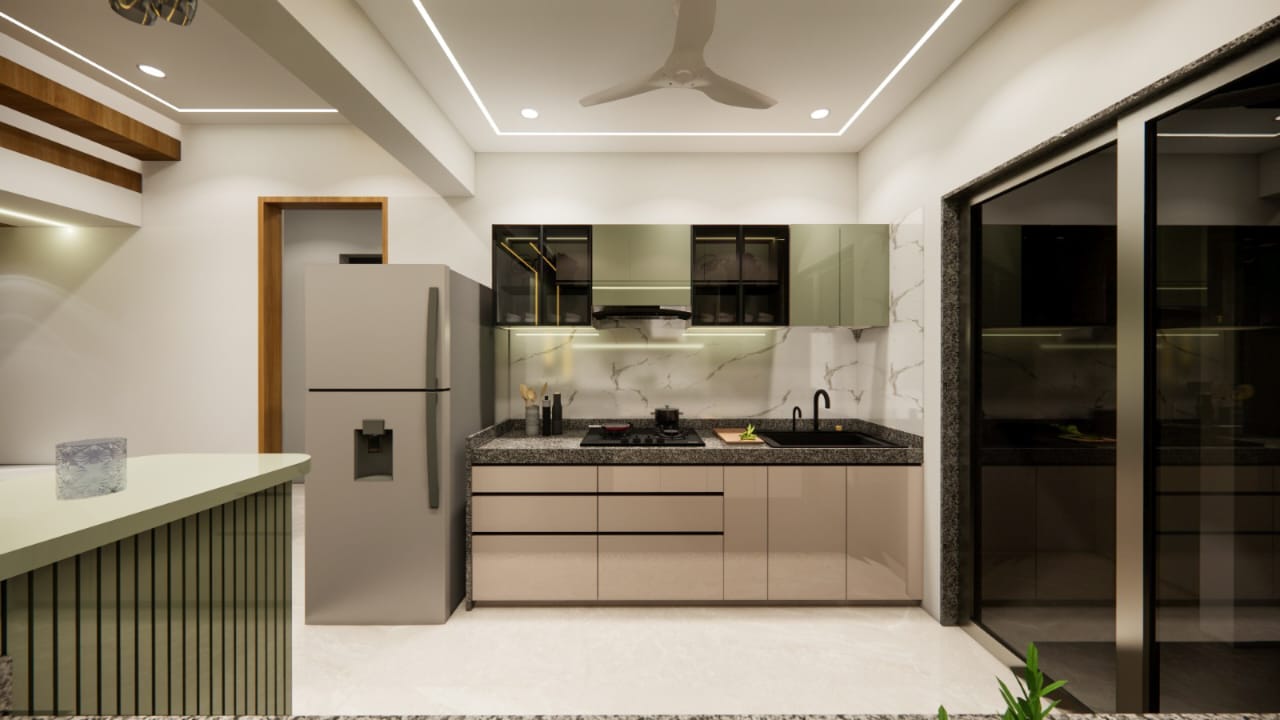 | Interior Modular Kitchen Designing & Installation We design and install modern modular kitchens in L-shape, U-shape, parallel or island layouts. View product → |
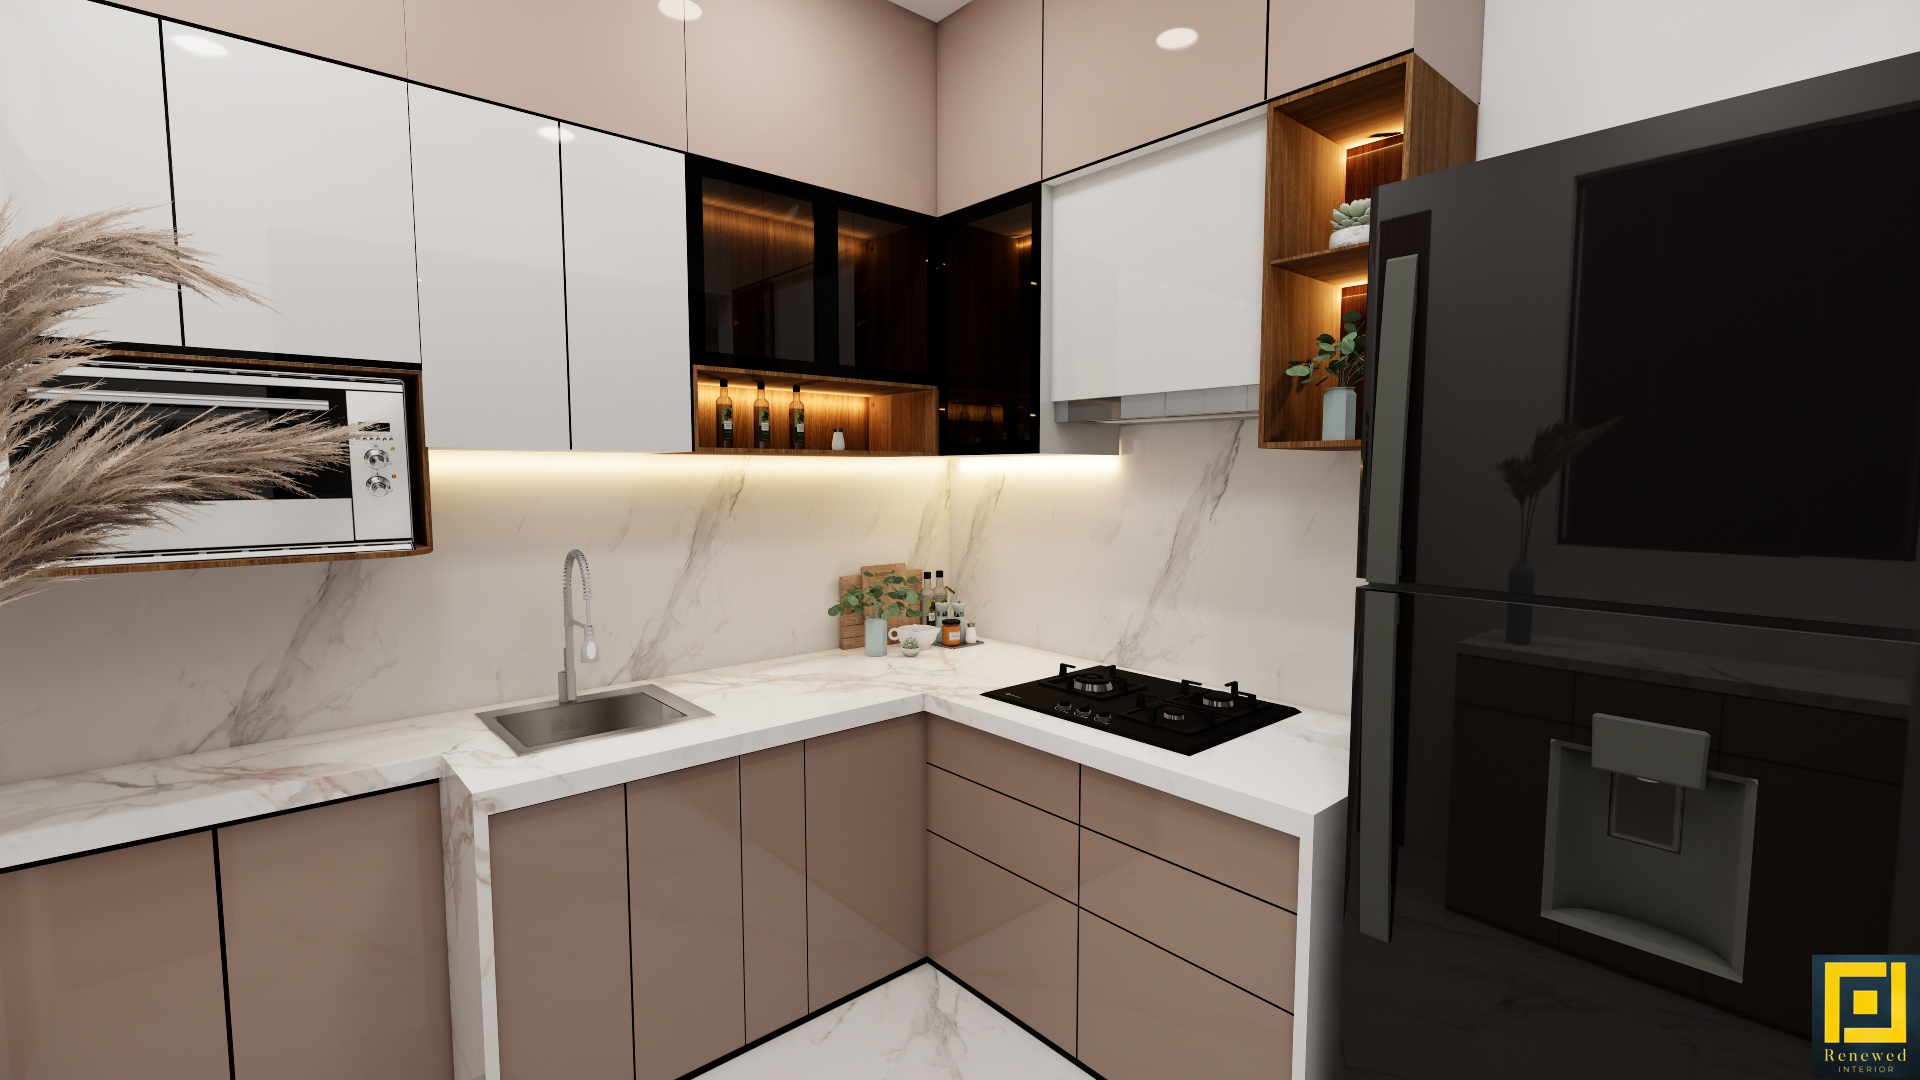 | Interior Expert modular kitchen solutions in Pune with premium quality materials, factory-finished modules, and quick installation. View product → |
Frequently asked questions
What should an interior design consultation produce before kitchen design begins?
Request a dimensioned plan showing wall lengths, ceiling height, doors, windows, beams, columns, plumbing points, electrical points and appliance locations. Add elevations, a storage schedule, material specifications, cost inclusions and a project timeline.
Which kitchen layout and clearances fit your room and cooking workflow?
Choose a straight, L-shaped, parallel, U-shaped or island layout after measuring the room and mapping preparation, cooking, washing and storage. Keep about 900 millimetres for a comfortable single-user aisle and about 1,200 millimetres where two people need to pass or work.
How should appliances, plumbing, ventilation and electrical points be planned?
Confirm every appliance's actual width, depth, height, ventilation gap and service access before cabinet fabrication. Mark water supply, waste pipes, sink position, hob gas or electrical connection, chimney duct route, socket heights and dedicated circuits on the plan.
What materials, storage details and project costs should you compare?
Compare the core board, laminate or finish, edge treatment, hinges, drawer runners, baskets, handles, sink, countertop, warranty and installation scope. Ask for separate prices for civil work, electrical changes, plumbing, ducting, appliances, delivery, taxes and exclusions.
What must you approve before modular kitchen installation starts?
Sign off the final measured layout, elevations, appliance schedule, hardware list, finishes, countertop cut-outs, utility points, ventilation route, total price, payment stages, delivery date and change-order process.
Related product
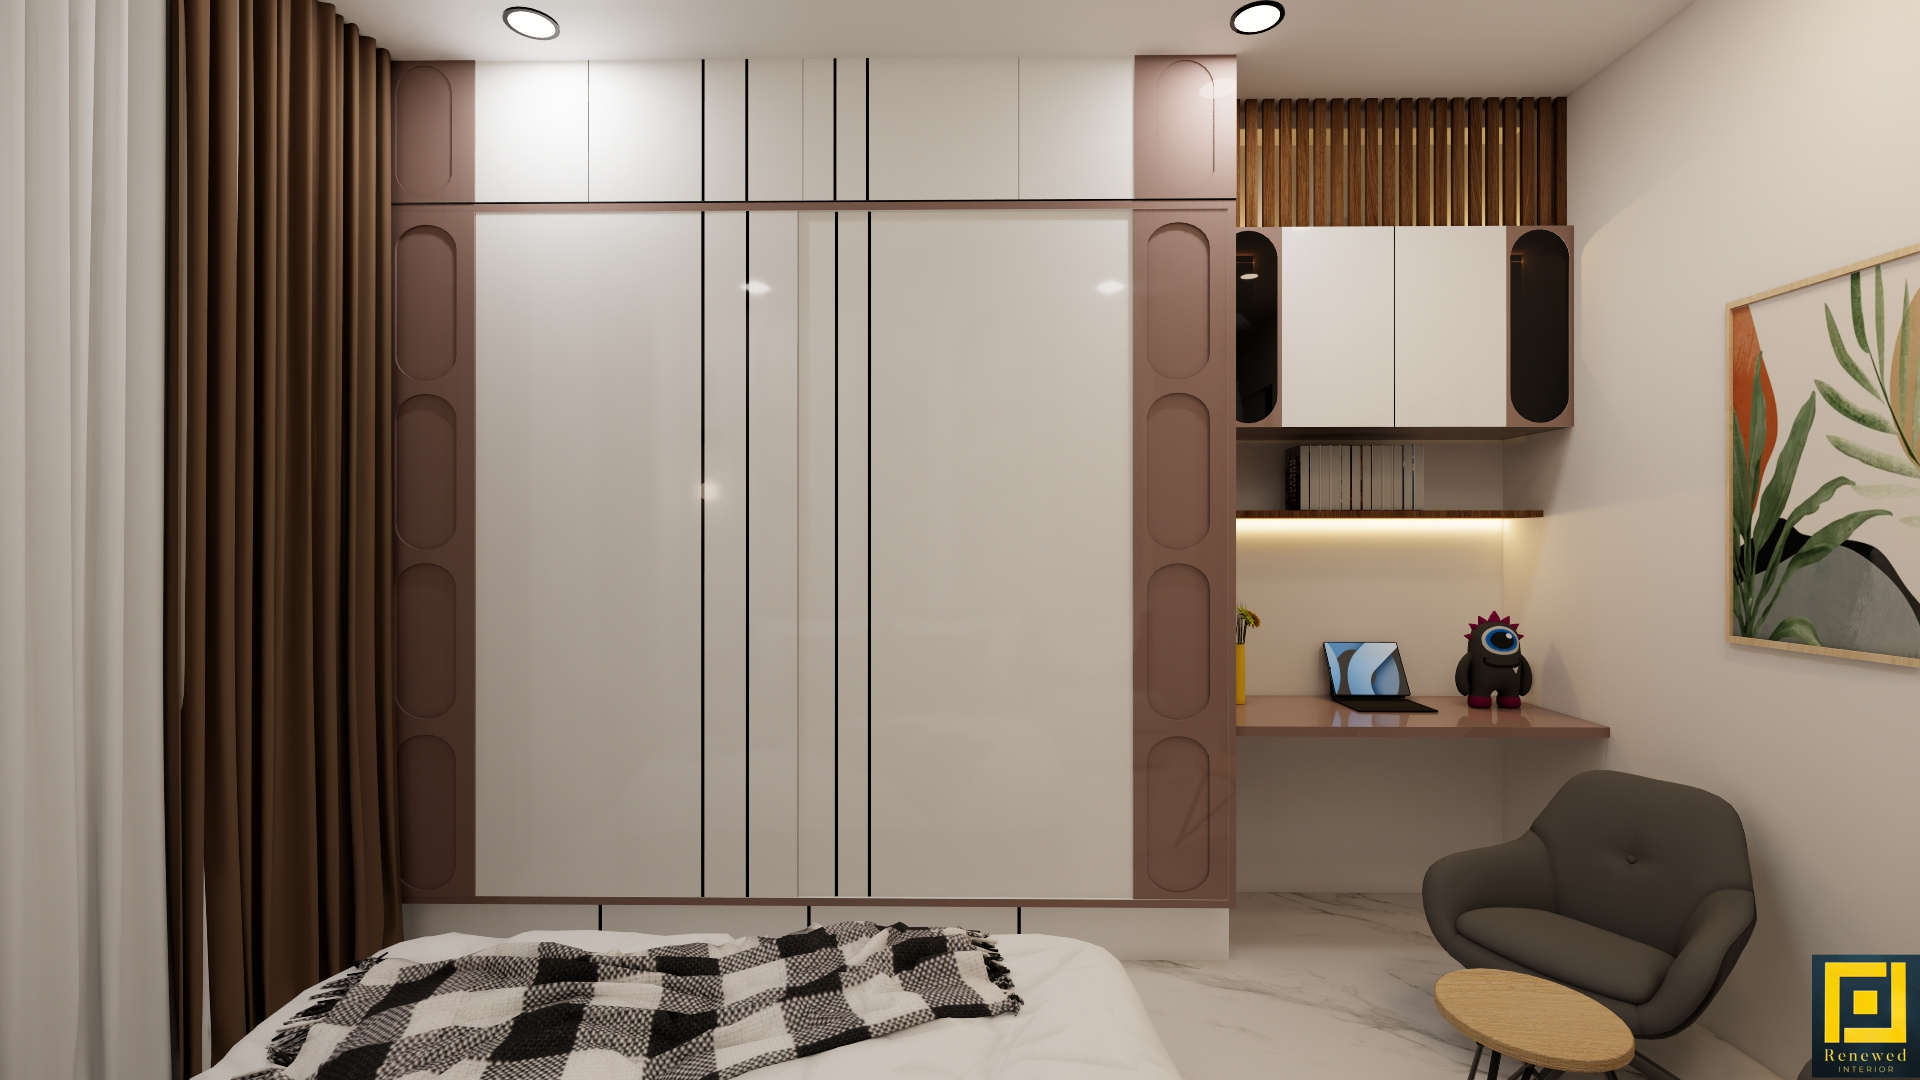 | Interior Wardrobe Designing (Sliding / Hinged) Get fully customized wardrobes with sliding or hinged doors that maximize space and add elegance to your bedroom. View product → |