A bedroom becomes difficult to style when construction decisions are made in the wrong order: a wardrobe blocks a window, paint hides seepage, or lighting is installed without considering how you read, dress, and move through the room. By the end, you will be able to assess the room, choose the right renovation scope, set a workable layout, and sequence finishes without damaging completed work.
Key takeaways
- Measure door swings, window positions, beam drops, and ceiling height first.
- Choose reconstruction only when the existing structure or services limit your layout.
- Keep usable circulation around the bed, wardrobe, bathroom, and balcony routes.
- Install concealed wiring and fixed elements before painting, furniture, and soft styling.
Start with a Site Survey Before Choosing a Bedroom Style
Record the bedroom’s physical constraints before selecting a style. Measure clear length and width, finished ceiling height, door swing, window and shaft positions, beam drops, and the route to the bathroom or balcony.
In a newly handed-over apartment, structural walls, wet areas, and external façades usually cannot move, so these facts matter more than a preferred bed or wardrobe design.
For interior styling bedroom renovation in punawale, inspect and photograph:
- Electrical conduits, junction boxes, switch locations, socket load, fan points, curtain power points, and AC-drain routes.
- Plumbing lines, bathroom-adjoining walls, window perimeters, external walls, AC-drain joints, seepage marks, peeling paint, and musty smells.
- Daylight at morning and afternoon, plus the colour of existing artificial light. Test paint, laminate, and fabric samples on the intended wall; warm bulbs intensify beige and wood, while cool bulbs can make grey or blue look harsh.
- Society lift-booking, debris-removal, working-hour, drilling, and material-movement rules.
Keep removable skirting or access panels around junctions, drains, and concealed plumbing. Laminating over them can turn a small fault into wardrobe dismantling.
| Recorded condition | Modular solution | Site-built solution |
|---|---|---|
| Straight walls and standard storage | Factory-cut carcasses install faster with replaceable panels | Extra site work adds little value |
| Irregular walls or unusual niches | Requires careful fillers and measured adjustments | Masonry or carpentry adapts more easily |
| Seepage or dusty repairs pending | Install only after resolution | Same delay, with greater dust exposure |
Choose Between a Makeover, Partial Renovation, and Reconstruction
Choose the smallest intervention that fixes the room’s underlying failure, not the one that produces the biggest visual change. A bedroom makeover in Punawale suits sound rooms needing new paint, lighting, curtains, laminate updates, or loose furniture; reconstruction is justified only when layout, services, or moisture damage make surface changes unreliable.
| Option | What it means | When it applies |
|---|---|---|
| Makeover | Paint, lighting, hardware, curtains, and furniture changes | Flooring, wiring, walls, and storage remain serviceable |
| Partial renovation | Replace selected flooring, wiring, wardrobe, ceiling, or wall finishes | One or two systems are failing, but the layout works |
| Reconstruction | Redesign services, partitions, flooring, and built-ins together | Seepage, unsafe wiring, severe damage, or a fundamentally unsuitable layout exists |
Do not cover dampness with wallpaper or upholstered panels. Repair window perimeters, bathroom-adjoining walls, external walls, and AC-drain joints first; trapped moisture can swell boards and create mould.
Choose modular storage when repeatable factory cutting, quicker installation, and replaceable panels matter. Choose site-built masonry or carpentry for irregular walls and unusual niches, accepting more dust, longer site work, and greater dependence on on-site workmanship.
Keep removable skirting or access panels at electrical junctions, AC drains, curtain power points, and concealed plumbing. Otherwise, a minor fault could require dismantling the entire wardrobe.
Finally, protect the only window: openings for light and ventilation should generally total at least one-tenth of the floor area, excluding doors. A full-height wardrobe or deep headboard can undermine an otherwise successful renovation.
Set the Layout Around Clearances, Storage, and Daylight
Place the bed on the solidest internal wall, keeping its headboard away from the only window and leaving direct access to the bathroom, balcony, and bedroom door. This protects daylight and prevents the bed from turning the main route into a narrow obstacle.
Plan the remaining furniture from the required clearances:
- Keep about 750 mm of walking space along the main passage, beside the bed, and in front of frequently used storage.
- Allow about 600 mm for wardrobe depth, including shutters; choose sliding shutters or a shallower unit when the passage becomes tight.
- Put the dressing table near natural light without covering the window opening. A mirror beside the window can provide better face lighting than one under a ceiling fixture.
- Leave bedside access on both sides when two people use the bed. If the room is narrow, use one compact bedside shelf rather than sacrificing the circulation route.
- Place tall storage on a wall that does not block the window, shaft access, curtain movement, or an air-conditioner drain.
Natural openings in a habitable room generally need aggregate area of at least one-tenth of the floor area, excluding doors. Preserve that opening in your bedroom interior design in punawale; a full-height wardrobe across the window wall can make the room darker and less ventilated.
Before fixing panels, inspect window edges, external and bathroom-adjoining walls, and AC-drain joints for seepage. Keep removable skirting or access panels at electrical junctions, drain routes, and concealed plumbing points. A finished wardrobe that hides a leak can force you to dismantle the entire unit.
Sequence Construction So Styling Happens Without Rework
Install the wardrobe only after dusty, wet, and high-impact work has ended. Otherwise plaster dust enters hardware, flooring scratches during lifting, and moisture trapped behind boards can swell edges or grow mould.
1. Freeze the measured layout, electrical points, AC-drain route, and plumbing access before demolition. Mark every socket, switch, junction box, curtain power point, and removable service panel on the drawing.
2. Demolish unwanted wardrobes, flooring, false ceiling sections, and wall finishes. Protect windows, door frames, and any retained furniture from debris.
3. Complete concealed electrical and plumbing work, including bedside sockets, reading lights, wardrobe lighting, AC power, and drain connections. Test circuits before closing walls.
4. Resolve seepage at window perimeters, external or bathroom-adjoining walls, and AC-drain joints. Do not cover dampness with wallpaper or upholstered panels.
5. Finish plaster repairs, waterproofing, flooring, ceiling work, and paint in that order. Approve paint, laminate, and fabric samples on the actual wall under the room’s planned lighting.
6. Install modular carcasses, shutters, hardware, skirting, and fixed furniture after the site is clean. Choose modular construction for repeatable cutting and replaceable panels; use site-built carpentry or masonry for irregular niches, accepting longer, dustier work.
7. Add mirrors, curtains, rugs, bedding, artwork, and small décor last. Keep access panels visible and photograph concealed services before closing them.
Renewed Interior can coordinate this sequence, but ask for a written handover checklist before styling begins. A bedroom renovation designer in Punawale should also confirm society lift, delivery, drilling, and debris-removal rules before scheduling installation.
Related products
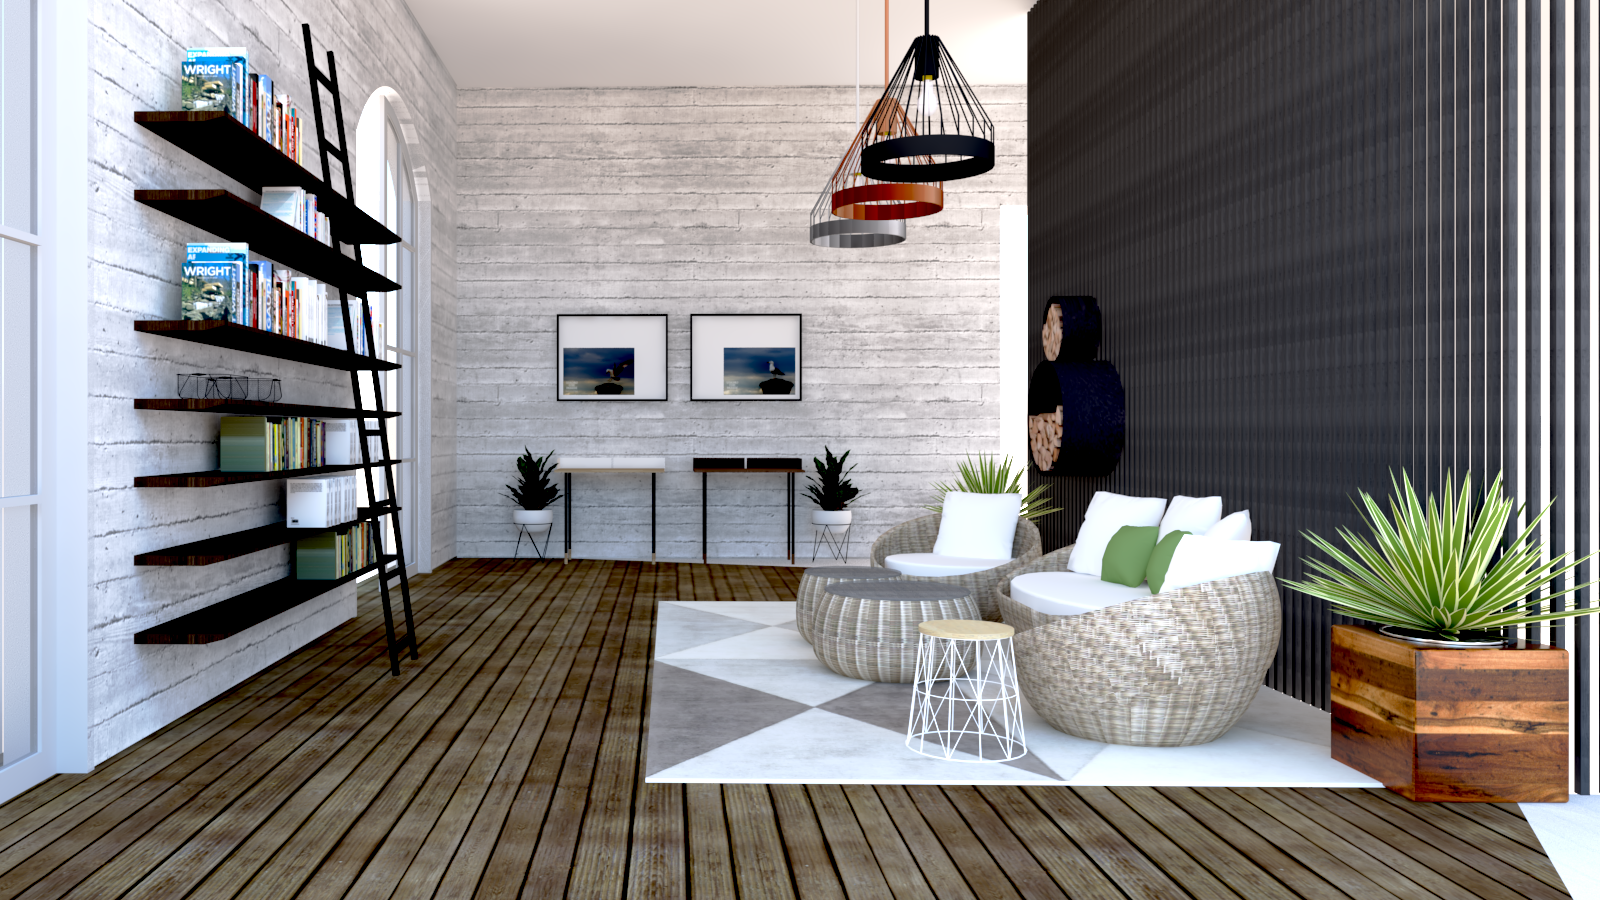 | Interior Home Renovation (Full House Makeover) From demolition to finishing, we manage full home renovation projects. View product → |
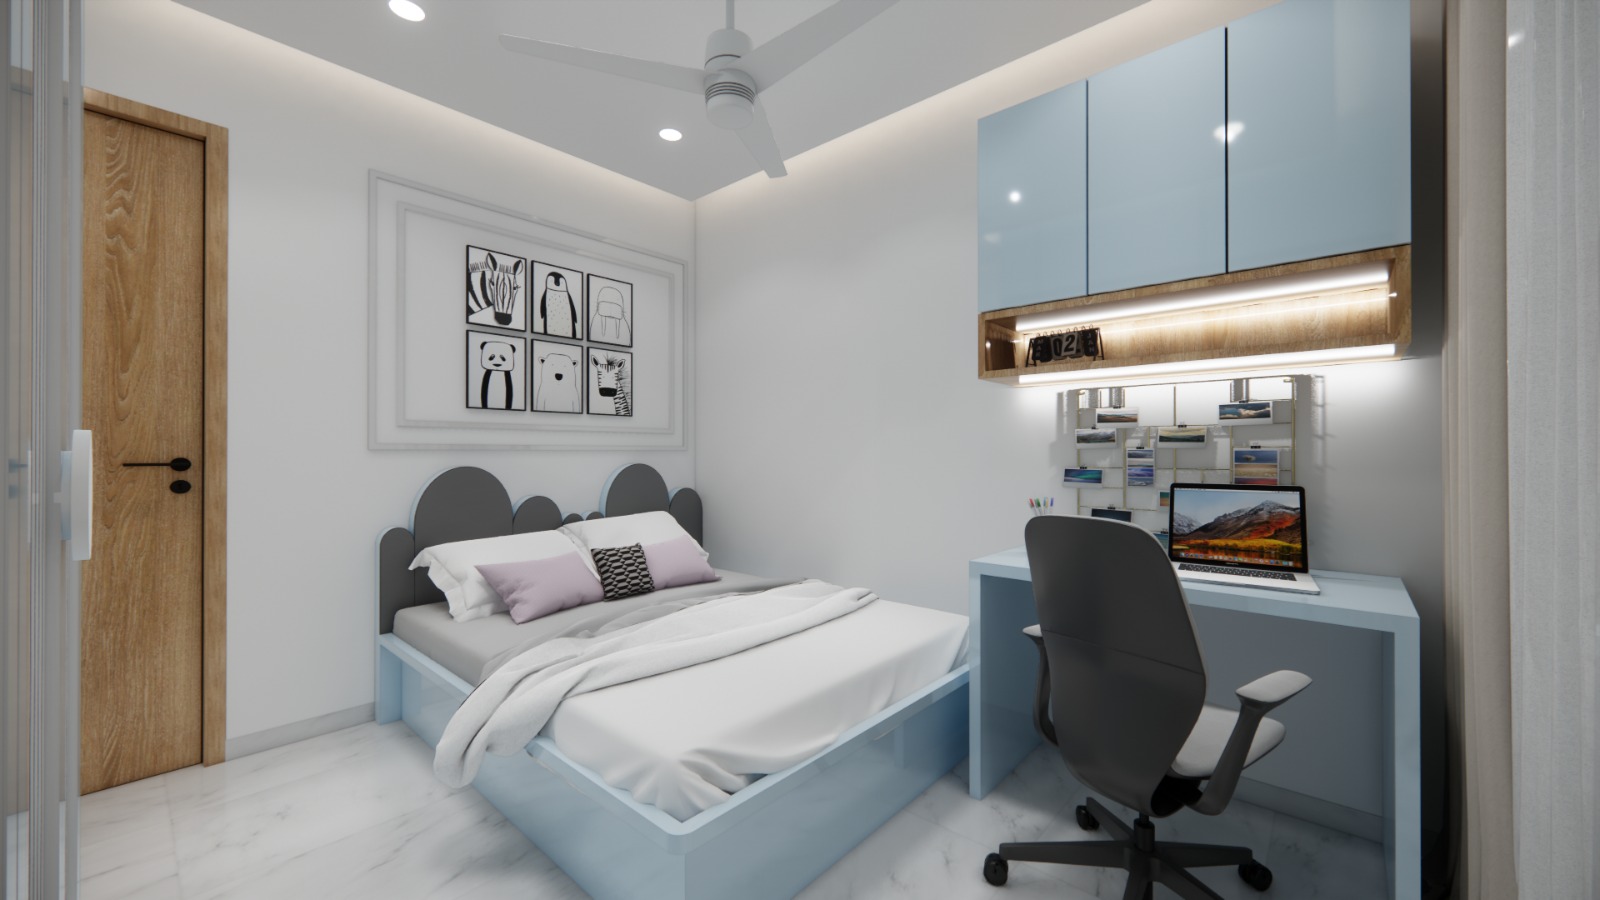 | Interior Transform your bedroom into a cozy, stylish and comfortable space. View product → |
Choose a Style and Lighting Plan That You Can Maintain
Choose finishes and lighting for the room you use, not for a catalogue photograph. Test bedroom styling ideas in Punawale against daylight and the actual lamp colour before approving paint, laminate, or upholstery. Warm bulbs make beige and wood look yellower; cool bulbs can make grey and blue feel harsh.
Paint a sample on the intended wall.
| Room and use | Materials and style | Lighting and storage |
|---|---|---|
| Compact bedroom, daily sleeping | Light matte laminate, pale paint, minimal contrast, washable cotton curtains | Ceiling ambient light, bedside task lights, and a low-glare night light; use sliding wardrobe shutters and overhead cabinets |
| Medium bedroom, work or dressing area | Woodgrain laminate with one durable accent wall; avoid delicate fabric near the desk | Add a task light at the desk or dressing mirror; include drawers for daily items and closed shelves for dust control |
| Large bedroom, occasional use | Upholstered headboard, textured fabric, and darker accents where cleaning is easy | Add a dimmable ambient layer and wall-wash accent lights; use a mix of hanging space, drawers, and seasonal storage |
Keep about 750 mm for the main walkway and in front of frequently used storage. A wardrobe usually needs about 600 mm depth including shutters; reduce depth or choose sliding shutters if that clearance disappears.
Use three separately controlled layers: ambient, bedside task, and low-glare accent or night lighting. Do not place one bright downlight above the pillow; it creates facial and reading glare. Put switches beside the bed, with two-way control from the entrance where practical.
A full false ceiling can hide wiring but reduces height and complicates driver repairs. A shallow perimeter cove or selective treatment is easier to maintain.
Frequently asked questions
What should you record during a bedroom site survey?
Measure the clear room length and width, finished ceiling height, door swing, window and shaft positions, beam drops, and routes to the bathroom or balcony.
How do you choose between a bedroom makeover, partial renovation, and reconstruction?
Choose a makeover for surface and styling changes, a partial renovation for selected storage, services, or finishes, and reconstruction when the layout, structure, or major services need replacement.
How should you plan a bedroom layout during renovation?
Set the layout around bed and wardrobe clearances, storage access, door swings, daylight, ventilation, and an unobstructed route to adjoining spaces.
When should bedroom styling happen during construction?
Complete measurements, civil work, electrical and lighting provisions, plumbing, ceilings, and fixed furniture preparation before painting, loose furniture, curtains, and decorative styling.
Related product
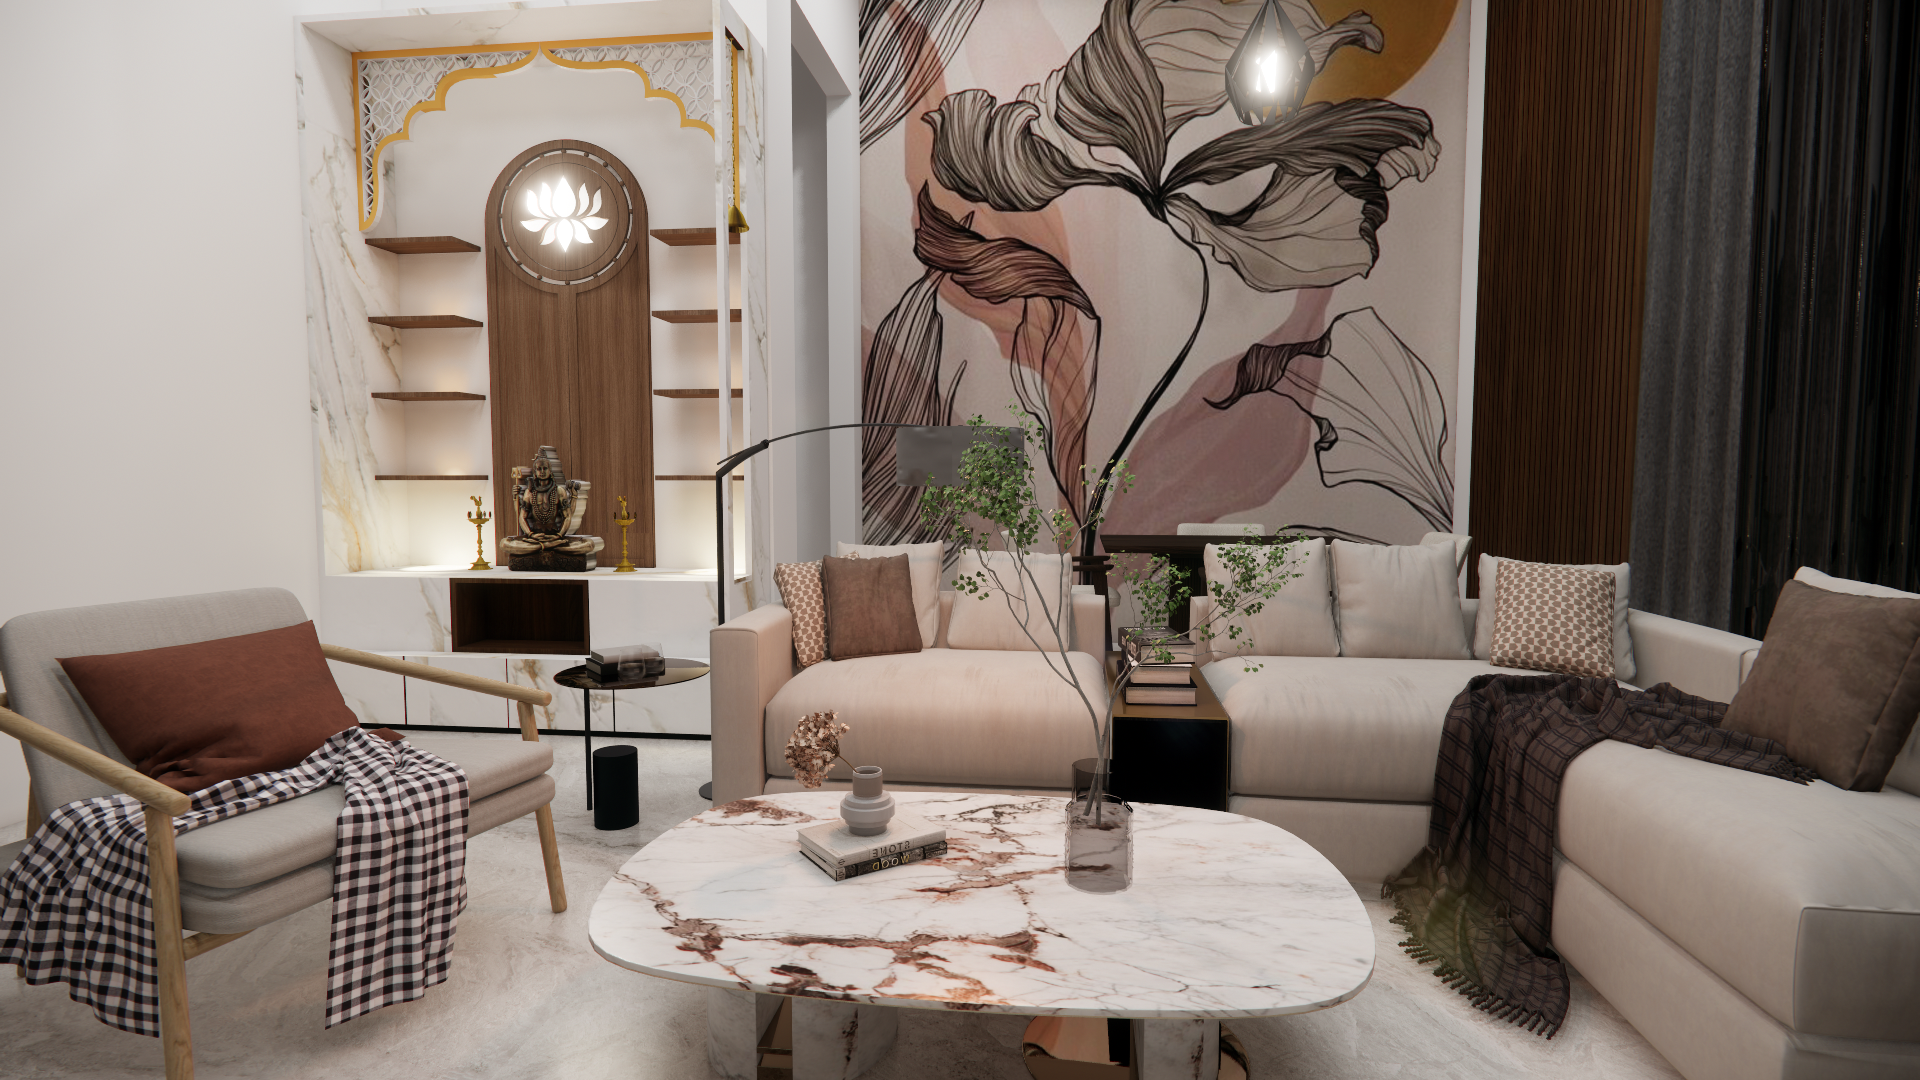 | Interior Full Home Interior Designing (Turnkey Projects) Complete interior solutions from design to execution, including furniture, décor, modular kitchen, wardrobes, painting, lighting, and civil work. View product → |