
A walk-in wardrobe can look spacious in a drawing yet leave you with blocked windows, inaccessible sockets, or doors that collide with the bed. Before approving a design, you will be able to check the room geometry, calculate your actual storage requirement, compare layouts and door systems, and put materials, hardware, lighting, ventilation and installation duties in writing.
Key takeaways
- Measure after flooring, skirting and wall finishes are complete.
- Test door swings and walking clearance with tape on the floor.
- Specify shelf depths, door sizes and hardware in millimetres.
- Compare the wardrobe with freestanding storage before signing.
Measure the room after finishing work, not before
Take final walk-in wardrobe dimensions only after plastering, flooring, skirting and wall cladding are complete. Measure wall-to-wall width at floor level, mid-height and ceiling height, then check both side walls for plumb; one top-to-bottom measurement can hide a taper and create unusable filler gaps.
Confirm whether every quoted figure is the external carcass size or the usable internal size. Hinges, drawer boxes, back panels, shutters, shelves and partitions reduce storage space, especially when wardrobe depth is limited. Record the minimum room size after subtracting the wardrobe, door swing, windows, columns and air-conditioner clearance.
- Mark the finished skirting and state whether the carcass will be notched, set on a plinth, or fitted with a scribed filler.
- Record the aisle width Hinjawadi apartments actually leave after installation. Keep 900 mm as a practical minimum for one person; allow 1,000–1,200 mm for comfortable dressing and drawer use.
- Locate sockets, internet points, switchboards, AC controls and inspection panels. Relocate them before fitting or specify an accessible cut-out.
- Write down the wall clearance and back treatment. A full back panel blocks dust but loses depth and can trap moisture; a recessed or partial back improves ventilation but needs a closure detail.
| Layout | Approximate footprint to check | Main clearance |
|---|---|---|
| Single storage run | Wardrobe depth plus 900 mm aisle | Hinged shutters need swing space |
| Opposing runs | Two wardrobe depths plus 1,000–1,200 mm aisle | Check drawers open opposite each other |
| Island | Runs, island depth and circulation on all sides | Keep 900–1,000 mm around the island |
Choose a layout and test circulation on the floor
A 900 mm clear aisle is the minimum practical target; 1,000–1,200 mm feels easier when two people dress together. Mark the finished wardrobe depth, door swings, bed, windows and columns with masking tape before choosing a layout. Measure the remaining walking space, not the empty room.
| Layout | Best use | Circulation check | Trade-off |
|---|---|---|---|
| single-wall wardrobe | Narrow room or one uninterrupted wall | Keep 900 mm clear in front; draw hinged shutter arcs | Simplest and least disruptive, but offers less storage |
| L-shaped walk-in wardrobe | Two adjoining walls with a usable corner | Maintain 900 mm through the turn and beside the bed | Adds capacity without enclosing the room |
| U-shaped wardrobe | Wide room with storage on three walls | Keep a continuous 900 mm centre aisle; use 1,000–1,200 mm for shared use | Highest capacity, but quickly feels cramped |
| wardrobe island | Room wide enough for storage runs plus a centre unit | Leave 900 mm on every side, including drawer and shutter openings | Adds folding or drawer space but consumes substantial floor area |
Test the selected plan in this order:
- Tape the carcass edges and the wardrobe island footprint on the floor.
- Mark hinged-door arcs, or the sliding-door overlap and access zones.
- Walk from the entrance to the bed, window and dressing position with drawers marked open.
- Reject the layout if a door, switchboard, curtain, bedside table or window trim interrupts the route.
Sliding doors save swing space, but they restrict access to part of the wardrobe at one time. A U-shaped plan that passes the tape test can still fail if open drawers reduce the aisle below 900 mm.
Specify storage, doors and hardware in millimetres
Approve usable internal dimensions, not only the external carcass size. The drawing and quotation must show the deductions caused by back panels, shutters, hinges, drawer boxes, shelves and vertical dividers; shallow units can lose substantial storage depth.
Specify each storage zone in millimetres:
- Hanging space: clear width, clear depth and vertical height for short garments and long-hanging clothes.
- Shelves: shelf pitch, usable width and depth, plus thickness, maximum support span and edge treatment for folded clothes or luggage.
- Drawers: clear internal width, height, depth and the drawer channel load rating.
- Shoes and accessories: compartment width, height, depth and the position of adjustable dividers.
- Loft compartments: clear height, depth, shutter opening and the location of every vertical divider.
For doors, record each shutter’s width, height and thickness, the hinge-side and handle-side clearances, and the full swing arc in plan. State whether the quoted size is external or usable. For sliding doors, specify the number of sliding wardrobe tracks, shutter overlap in millimetres, anti-jump hardware, bottom-track cleaning access and the levelling method.
Sliding doors save swing space but hide part of the wardrobe when closed.
Name every hardware item rather than accepting “premium” or “soft-close.” Record the manufacturer, model, load rating, adjustment range and replacement terms for soft-close hinges and drawer channels. Include hinge quantity per shutter; tall or heavy doors need support matched to their weight. Add a written warranty schedule for boards, finishes, hardware and installation alignment.
Check materials, moisture, lighting and concealed services
Before drilling, identify every concealed service behind the proposed wardrobe: electrical sockets, internet points, switchboards, AC controls, inspection panels, plumbing lines and air-conditioner drains. Relocate each point before installation or show a serviceable cut-out; covering one can turn a minor repair into wardrobe dismantling.
Write the wardrobe material specification into the quotation, including carcass board, edge banding, backing and hardware. Also confirm:
- The anchor type for reinforced concrete, brick, blockwork or gypsum partition, and who will scan for hidden pipes and cables before drilling.
- The wall condition in Hinjawadi, especially bathroom-side dampness, seepage marks and AC-drain routes. A wet wall needs a stand-off, sealed backing or another location; moisture-resistant board alone will not stop a leak.
- The back treatment, wall clearance and closure detail.
- The wiring route, switch location, driver access and heat clearance for wardrobe lighting. Label all electrical points wardrobe on the drawing.
- Ventilation openings or a recessed back where air must circulate. Do not seal a damp wall behind a full panel.
| Back construction | Benefit | Risk or check |
|---|---|---|
| Full back panel | Cleaner dust barrier and a finished interior | Reduces usable depth and can trap moisture against an uneven wall |
| Recessed back | Creates wall clearance for airflow | Requires a defined closure to prevent dust and pests |
| Partial back | Better service access and ventilation | Leaves more exposed wall and needs careful finishing |
Have the installer confirm that tall units are wall-anchored, not held only by the floor, adhesive or skirting. Record the fixing method before the wardrobe is fixed.
Compare the wardrobe with simpler storage before signing
A walk-in wardrobe is the wrong choice when it consumes the room’s usable floor area, leaves less than a comfortable aisle, or forces you to sacrifice a bed, desk, window access or ventilation. Compare the options before paying a design advance.
| Option | Strength | Choose it when |
|---|---|---|
| Walk-in versus built-in wardrobe | More access and storage, but uses a separate room or zone | You have enough clear floor area after doors, windows and furniture |
| Hinged wardrobe comparison | Full cabinet access, but each shutter needs swing clearance | You want simpler hardware and can keep the door arc clear |
| Freestanding storage | Fast to move and easier to replace, but wastes gaps and looks less integrated | You are renting or expect to change the room layout |
Attach a written wardrobe installation checklist to the quotation. Ask Renewed Interior, or any contractor, to separate these items rather than hiding them under “installation included”:
- Manufacturing, delivery, assembly, dismantling and disposal of the old wardrobe
- Furniture shifting, debris removal, wall plaster repairs and repainting
- Socket, internet point, switchboard, inspection-panel and AC-control relocation or accessible cut-outs
- Skirting removal and reinstatement, carcass notching, plinths, fillers and uneven-wall scribing
- Full, recessed or partial back treatment, with stated wall clearance and closure against dust
The warranty must name the board grade and thickness, edge finish, laminate or acrylic, hinges, drawer channels, handles and installation workmanship separately. Record the duration and remedy for swelling, delamination, loose hinges, noisy channels and alignment changes.
Related product
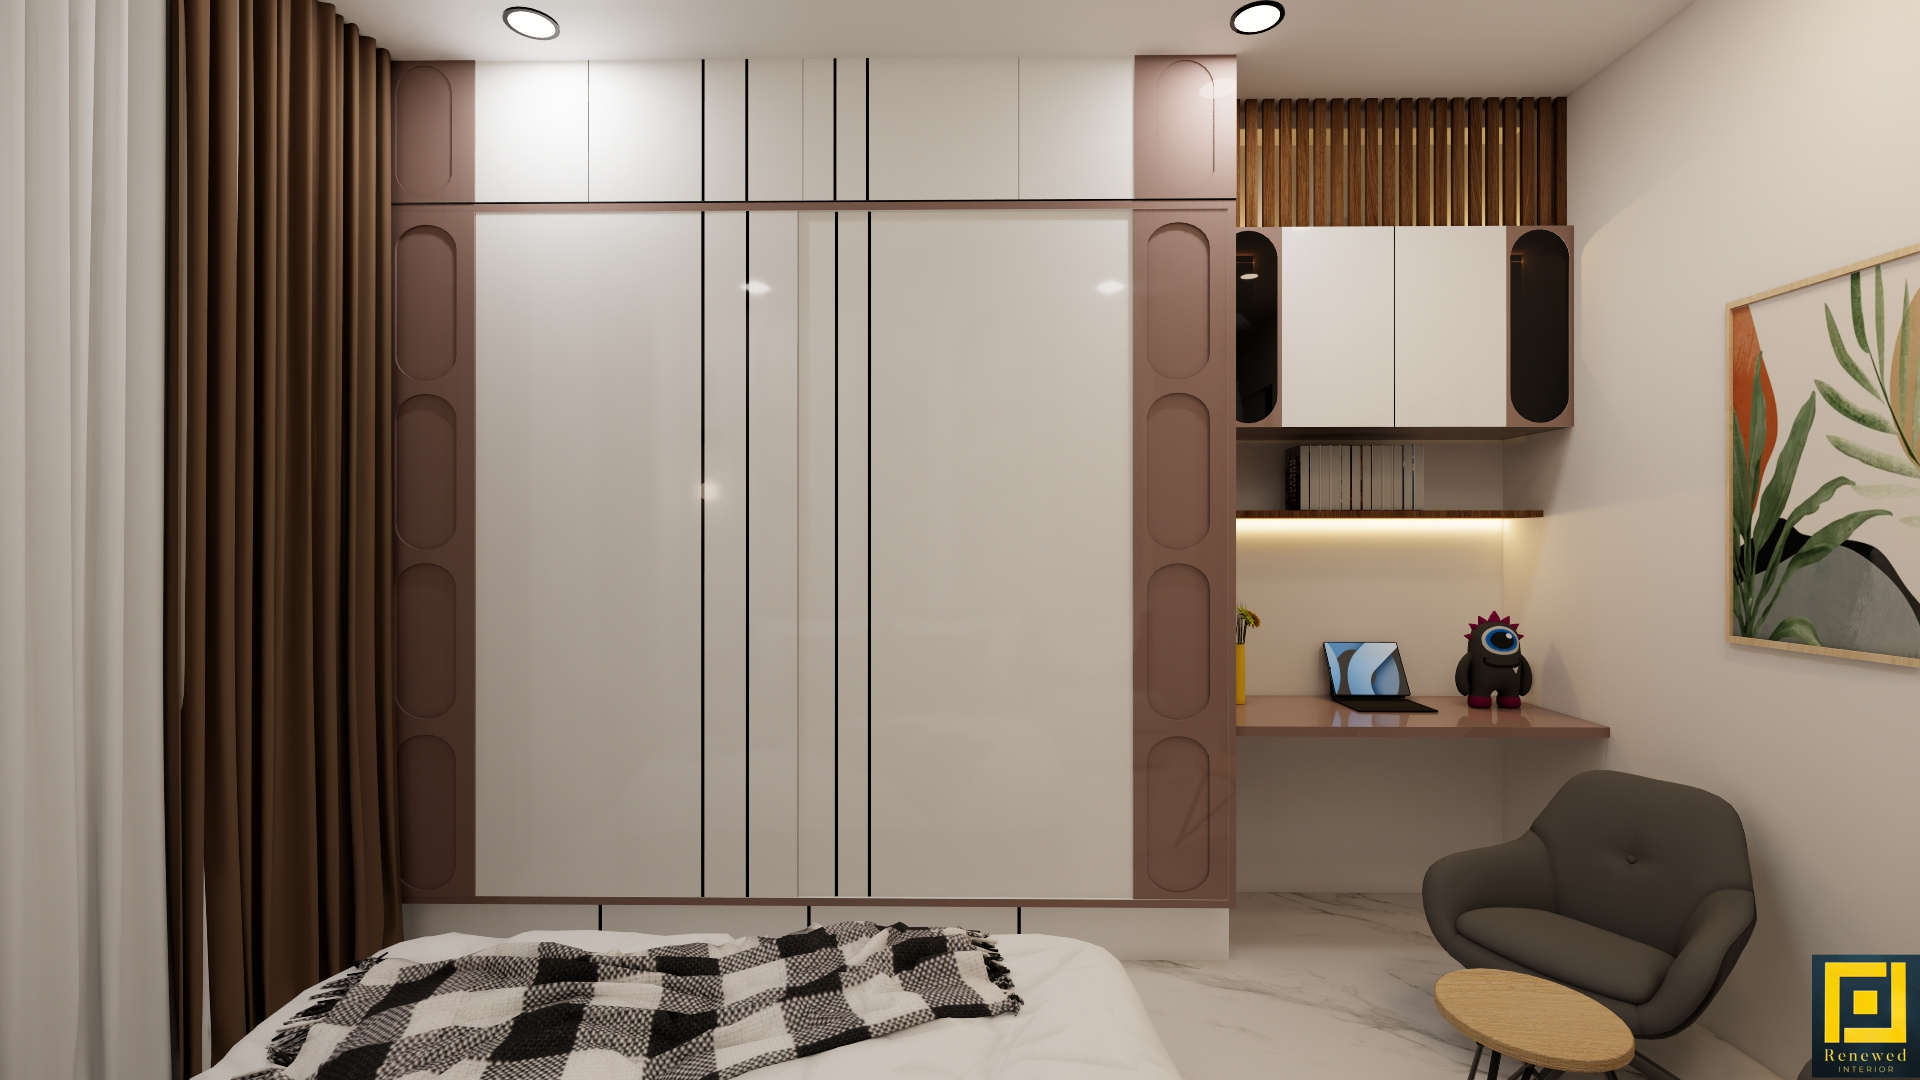 | Interior Wardrobe Designing (Sliding / Hinged) Get fully customized wardrobes with sliding or hinged doors that maximize space and add elegance to your bedroom. View product → |
Frequently asked questions
When should you measure a walk-in wardrobe room?
Measure after plastering, flooring, skirting and wall cladding are complete. Check width at floor level, mid-height and ceiling height, then check both walls for plumb.
How can you test a walk-in wardrobe layout?
Mark cabinets, doors and clear walking routes on the floor with tape. Open every door and drawer to confirm that circulation remains usable.
What wardrobe details should be specified in millimetres?
Record cabinet depth, shelf spacing, hanging height, drawer dimensions, door width, filler sizes and clearances in millimetres.
What should you check before approving wardrobe materials and installation?
Check moisture exposure, board edges, hardware, lighting access and concealed electrical or plumbing services before drilling or closing panels.
Should you compare a walk-in wardrobe with simpler storage?
Yes. Compare the walk-in wardrobe with freestanding wardrobes or built-in cupboards for usable capacity, floor area, access, maintenance and installation effort.